
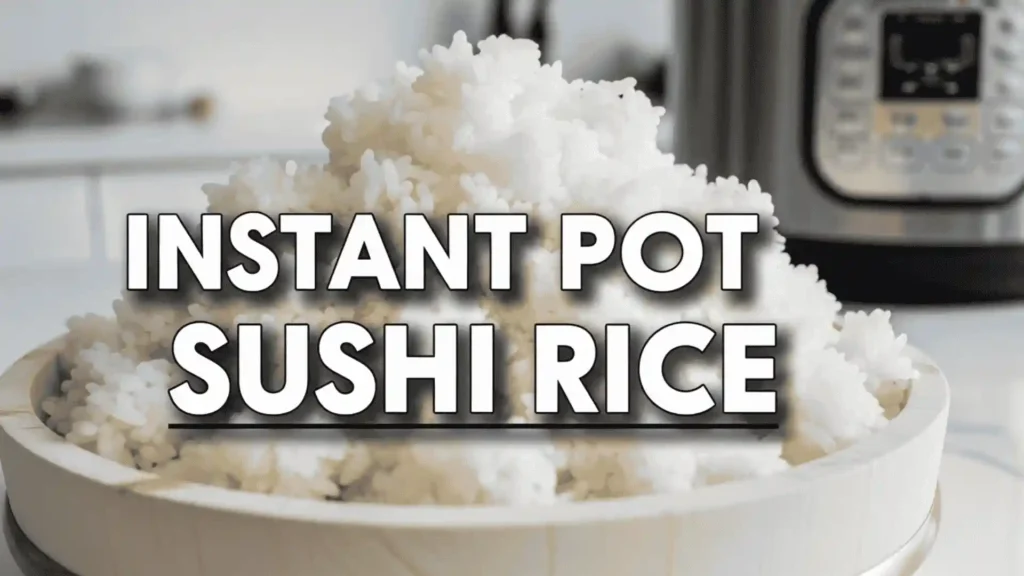
I remember the first time I tried to make sushi at home. It was a disaster. The rice was hard in the middle and mushy on the outside. I almost gave up on my dream of homemade California rolls. Then, I discovered the magic of instant pot sushi rice. It changed everything for me.
Now, I make sushi every week. It is so easy and fast. You do not need a fancy rice cooker. Making instant pot sushi rice gives you consistent results every single time. Let me show you exactly how I do it in my kitchen.
Why I Love Instant Pot Sushi Rice
There are so many reasons to use a pressure cooker for this. The main reason is speed. The pressure forces moisture into the grain quickly. This creates that perfect sticky texture we all love. Instant pot sushi rice is much faster than the stovetop method.
I also love the hands-off nature of this method. I do not have to watch a pot boil. I do not have to worry about the water spilling over. I just set it and walk away. That is the beauty of cooking instant pot sushi rice for dinner.
It saves me so much stress on busy weeknights. I can chop my veggies and fish while the rice cooks. By the time the pressure releases, I am ready to roll. It really is the best way to get dinner on the table fast.
Choosing the Right Grain
You cannot use just any rice for this. You need short-grain white rice. Some brands label it as “sushi rice.” I often use Calrose rice, which is a medium grain that works very well. It gets nice and sticky.
Long-grain rice like Basmati will not work. It is too dry and fluffy. The grains will fall apart when you try to roll them. To get the best instant pot sushi rice, stick to Japanese short-grain varieties.
I always check the bag to make sure it is the right type. The grains should look round and chubby. This starch structure is what makes the rice stick together. That stickiness is vital for holding your rolls together.
Ingredients You Will Need
Here is what I grab from my pantry. It is a short list, which is great.
2 cups short-grain sushi rice
2 cups cold water
1/4 cup rice vinegar
1 tablespoon sugar
1 teaspoon salt
Preparing Your Instant Pot Sushi Rice
The first step is the most important. You must rinse your rice. I place the rice in a mesh strainer. I run cold water over it and shake it gently. The water will look milky white at first.
I keep rinsing until the water runs clear. This removes excess starch. If you skip this, your instant pot sushi rice will be too gummy. It takes about two or three minutes, but it is worth it.
Once rinsed, I shake off the excess water. I dump the damp rice directly into the stainless steel inner pot. Then, I add exactly two cups of fresh water. The ratio is always one to one.
How to Cook Instant Pot Sushi Rice
Now comes the easy part. I secure the lid on my pressure cooker. I make sure the valve is set to the “Sealing” position. I select the “High Pressure” setting. I set the timer for five minutes.
While the instant pot sushi rice cooks, I mix my seasoning. I combine the vinegar, sugar, and salt in a small bowl. I microwave it for thirty seconds so the sugar dissolves. This mixture is called *tezu*.
When the timer beeps, do not open the lid yet. You must let the pressure release naturally. I wait for ten minutes. This allows the rice to finish steaming gently. This step ensures your instant pot sushi rice is fluffy.
After ten minutes, I flip the valve to “Venting.” Any remaining steam shoots out. I carefully open the lid. The rice should look white and shiny. It smells amazing in the kitchen right now.
Seasoning the Instant Pot Sushi Rice
I do not season the rice inside the hot pot. The metal retains too much heat. I transfer the cooked rice into a wide, shallow bowl. A wooden bowl, or *hangiri*, is traditional, but glass works too.
I pour the vinegar mixture over the hot rice. I use a rice paddle to slice through the rice. I do not stir or mash it. I gently fold the rice over to distribute the liquid.
This process cools the rice and seasons it. I sometimes use a fan to cool it faster while I mix. This gives the instant pot sushi rice a lovely glossy shine. It should taste sweet, salty, and tangy.
Pros and Cons of Instant Pot Sushi Rice
I want to be honest with you about this method. It is my favorite way, but it has some quirks. Here is a quick breakdown of what I have found over the years.
| Pros | Cons |
| Cooks extremely fast | Easy to overcook if timing is off |
| Very consistent texture | Rice can stick to the pot bottom |
| No need to watch the stove | Requires specific water ratio |
| Set it and forget it | Natural release takes patience |
| Great for large batches | Stainless pot is harder to clean |
Despite the cons, the instant pot sushi rice method wins for me. The cleanup is a small price to pay for perfect rolls. I just soak the pot while I eat.
Comparing Instant Pot Sushi Rice to Other Methods
You might wonder how this compares to a dedicated rice cooker. A high-end Japanese rice cooker is amazing, but it is slow. It can take an hour. The pressure cooker takes about twenty-five minutes total.
The stovetop method is tricky. It is easy to burn the bottom. The heat distribution can be uneven. Instant pot sushi rice solves these issues with regulated pressure and heat.
Here is how the timing breaks down for each method.
Instant Pot: 25 Minutes Total
Stovetop: 40 Minutes Total
Rice Cooker: 50-60 Minutes Total
Tips for the Best Texture
Texture is key for good sushi. If your rice is too soft, it is mushy. If it is too hard, it ruins the bite. My instant pot sushi rice technique hits the sweet spot.
If you find your rice is too soft, reduce the water slightly next time. Try taking out two tablespoons of water. If the rice is too hard, add two tablespoons more. Altitude can affect this too.
Never put your seasoned rice in the fridge before rolling. Cold rice gets hard and waxy. Keep your instant pot sushi rice at room temperature while you make your rolls. Cover it with a damp towel to keep it moist.
Common Mistakes to Avoid
One big mistake is rushing the natural release. If you vent the steam immediately, the rice will be undercooked. It needs that extra ten minutes of passive steam. Patience is key for instant pot sushi rice.
Another mistake is using old rice. Rice dries out over time. If your bag has been in the pantry for a year, it needs more water. I try to buy fresh bags for sushi night.
Do not skip the sugar in the seasoning. The balance of sweet and sour is what defines sushi flavor. Plain sticky rice is not the same as true instant pot sushi rice.
Serving Your Creations
Once your rice is cool, you can make anything. I love making simple tuna rolls. My kids love cucumber rolls. The sticky texture makes rolling very easy for beginners.
You can also make poke bowls. Just scoop the rice into a bowl and top with fish. It is a great way to enjoy instant pot sushi rice without the work of rolling.
I also use this rice for *onigiriballs. They make great snacks for lunch boxes. The sticky grains hold the triangular shape perfectly. It is a versatile recipe to have.
Storing Leftovers
Sushi rice is best eaten fresh. However, you can store leftovers. I put them in an airtight container in the fridge. The rice will get hard, so you cannot use it for sushi again.
I use leftover instant pot sushi rice for fried rice the next day. The texture works well when fried with egg and soy sauce. It is a tasty way to reduce waste.
Do not freeze the seasoned rice. The texture becomes very grainy when thawed. It just does not taste good. Only cook what you plan to eat that day.
Final Thoughts on This Method
Cooking Japanese food at home does not have to be scary. Using modern tools makes it accessible. I hope you try making instant pot sushi rice soon.
It saves time and tastes authentic. You will impress your friends and family. Plus, you save so much money compared to eating out. It is a win-win situation.
Grab your pressure cooker and a bag of short-grain rice. Follow these steps, and enjoy. You will be a master of instant pot sushi rice in no time.
Expert Insights FAQ
What is the water to rice ratio for Instant Pot sushi rice?
Use a 1:1 ratio. For every cup of rinsed rice, use exactly one cup of water. This ensures the rice is sticky but not mushy after pressure cooking.
How long do I cook sushi rice in an Instant Pot?
Cook on High Pressure for 5 minutes. After the timer beeps, let the pressure release naturally for 10 minutes before opening the lid.
Do I need to rinse the rice before pressure cooking?
Yes, absolutely. Rinse the rice under cold water until it runs clear. This removes excess starch and prevents the rice from becoming a gummy paste.
Can I use long-grain rice for sushi in the Instant Pot?
No, long-grain rice like Jasmine or Basmati is too dry and fluffy. You must use short-grain or Calrose rice to get the necessary sticky texture.
Why is my Instant Pot sushi rice too mushy?
You likely used too much water or did not rinse the rice enough. Ensure you drain the rice well after rinsing and stick to the strict 1:1 water ratio.